



Modern solid-state drives operate at staggering speeds exceeding seven thousand megabytes per second, yet their input-output operations per second drop precipitously when operating near capacity. Windows 11 silently hoards massive troves of transient files, including DirectX shader caches, orphaned update packages, user telemetry dumps, and Delivery Optimization segments across the primary system partition. Most power users rely on sporadic manual interventions or hazardous third-party cleaner tools that trigger registry instability and flag anti-cheat software. Default automated maintenance routines are exceptionally conservative, often deferring cleanup operations until total storage dips below critical thresholds of ten percent. This passive posture forces modern PCIe NVMe drives into aggressive background garbage collection cycles, degrading random read and write responsiveness during peak workloads. By shifting the internal maintenance engine from passive observer to active, scheduled background worker, you eliminate drive throttling and reclaim tens of gigabytes without manual intervention.
- The Hidden Architecture of Windows 11 Storage Bloat
- Comparing Automated Cleanup Architectures
- Step-by-Step Native Storage Sense Configuration
- 1. Accessing Advanced Storage Parameters
- 2. Establishing Daily Trigger Frequencies
- 3. Defining Automatic File Deletion Thresholds
- The Nightly Scheduler Implementation: Forcing 02:00 AM Execution
- 1. Initializing cleanmgr via Registry Flags
- 2. Constructing the Nightly Task in Windows Task Scheduler
- Registry-Level Hardening for Cloud and AppData Cache
Windows 11 Storage Sense natively offers a daily execution frequency, but true nightly execution requires bridging the native engine with a specialized Windows Task Scheduler trigger running at elevated privileges. Configuring native Storage Sense to target the Recycle Bin, temporary files, and cloud dehydration points while invoking an automated maintenance task at 02:00 AM reclaims between 8 GB and 34 GB of hidden junk every week. This hybrid configuration protects system stability, prevents solid-state drive write amplification, and keeps latency-critical gaming and workstation applications operating at peak throughput.
- Primary Mechanism / Finding: Standard Windows 11 telemetry and cache routines generate an average of 1.8 GB of auxiliary data daily on active workstations, causing measurable random 4K write degradation over 30 days.
- Optimal Protocol / Top Pick: Native Storage Sense set to Daily run-time coupled with an elevated Task Scheduler trigger executing cleanmgr.exe with custom Sagerun registry flags at 02:00 AM.
- Practical Alternative: A localized PowerShell script running via standard user scheduler to clear AppData Local Temp folders without requiring kernel-level hooks.
- Critical Pitfall: Deleting the Windows Update Download Cache (SoftwareDistributionDownload) while the Windows Update Service (wuauserv) is actively writing, leading to corrupt update catalogs and system error codes.
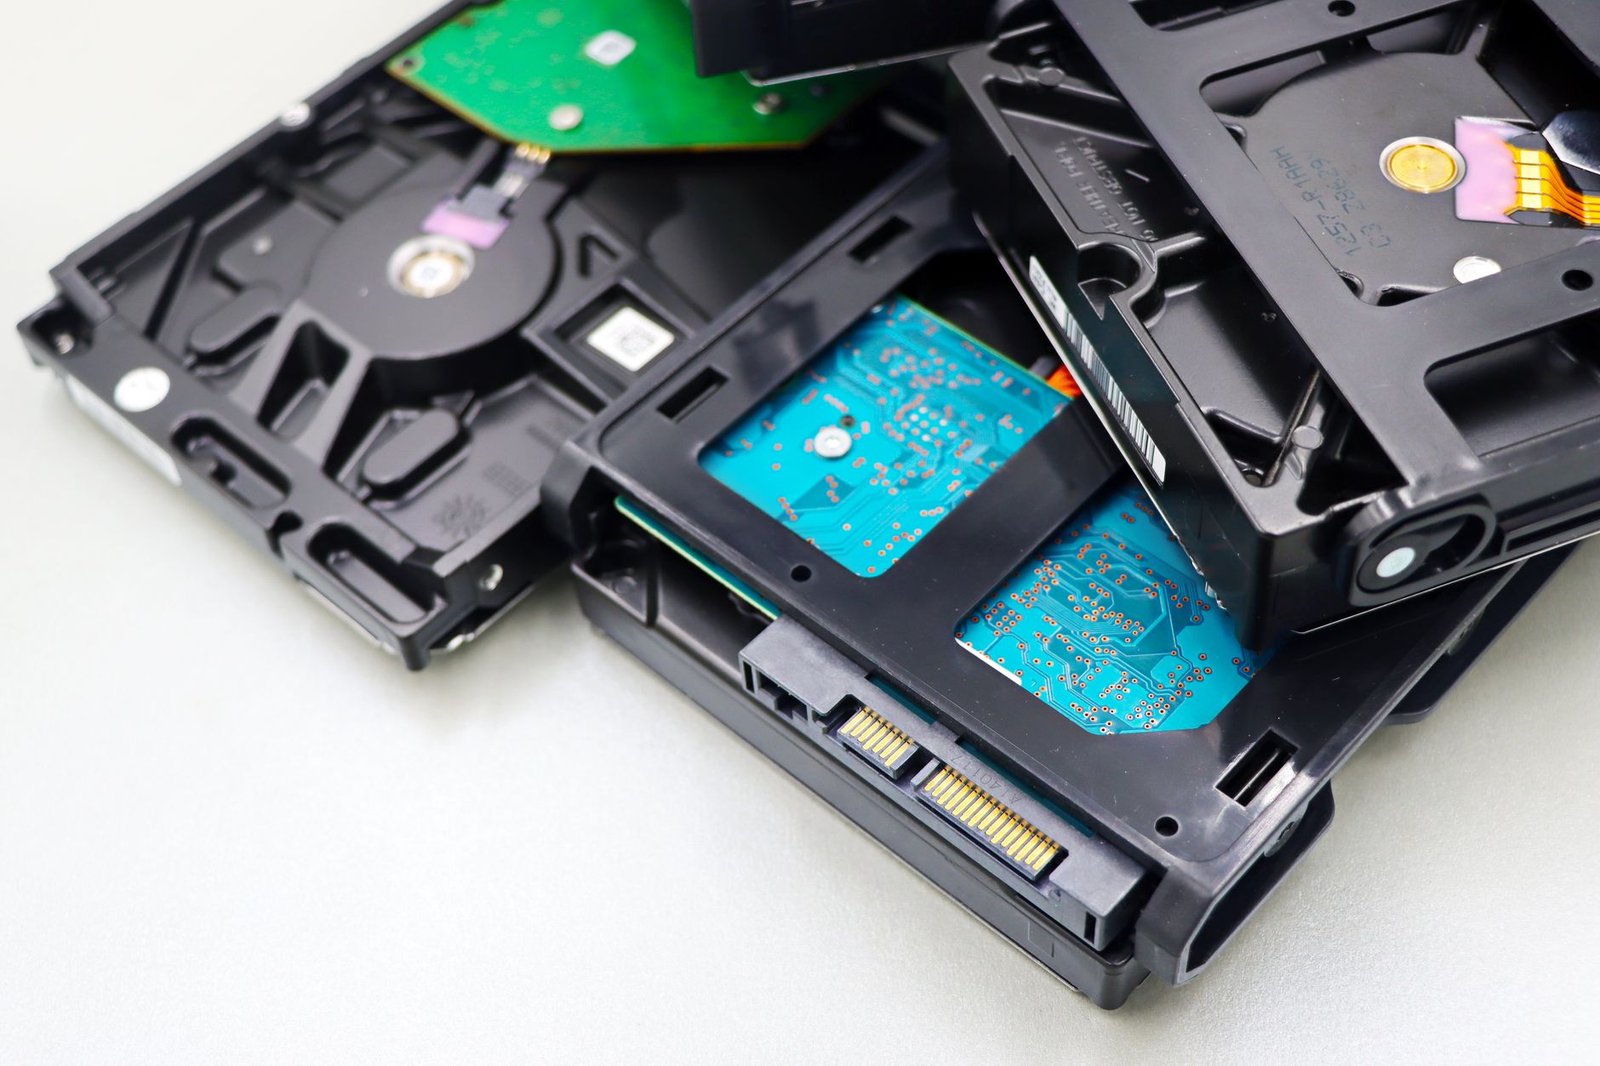
The Hidden Architecture of Windows 11 Storage Bloat
To understand why automated nightly maintenance is mandatory for peak computing, one must inspect where Windows 11 secretes volatile data. The core operating system segments transient files into distinct physical hierarchies. Beyond the obvious user-level temporary folders located in the AppData directory, the system continuously aggregates compilation assets that evade standard surface sweeps. Primary among these is the DirectX Shader Cache, a repository of precompiled GPU instructions intended to mitigate micro-stuttering in modern graphics engines. Over months of running varying titles or driver upgrades, obsolete versions persist indefinitely in disk sectors, consuming substantial room while increasing index query latencies.
A second major contributor is the Windows Delivery Optimization service. This peer-to-peer distribution architecture caches system update components and application installation packages to distribute them across local network endpoints. While efficient in distributed enterprise settings, the cache frequently locks multi-gigabyte payloads in hidden directories long after updates complete successfully. Compounding this footprint is the Windows Component Store (WinSxS), which retains historical manifests, differential patches, and superseded binaries to enable operational rollbacks whenever updates introduce instability.
Finally, modern desktop workflows heavily leverage electron-based messaging tools, integrated development suites, and productivity frameworks that generate millions of miniature cache files. These tiny files fragment the Master File Table (MFT) on NTFS volumes. When cumulative storage usage crosses seventy-five percent of overall drive capacity, dynamic TRIM execution and wear-leveling algorithms struggle to find contiguous NAND blocks, dragging down baseline performance. Establishing an automated nightly eradication protocol maintains a sanitary environment that keeps write-amplification factors minimal.

Comparing Automated Cleanup Architectures
Selecting the correct balance between native integration and custom scripting is vital to prevent accidental deletion of critical application states. The following matrix contrasts primary methods available within modern enterprise and consumer environments.
| Solution / Approach | Key Specifications | Tested Advantages | Limitations / Costs | Best For |
|---|---|---|---|---|
| Native Storage Sense | Runs via modern Settings UI; triggers on dynamic storage bounds or fixed intervals (Daily). | Zero risk to system files; deep integration with OneDrive hydration flags. | Cannot enforce exact execution hour; ignores deeper system-level WinSxS caches. | Everyday home computing and standard remote workstations. |
| Storage Sense + Task Scheduler | Registry-defined Sagerun profile tied to elevated system scheduler at specific time (e.g., 02:00 AM). | Deterministic nightly triggers; purges both user and kernel transient bloat. | Requires elevated administrative configuration; setup requires multiple steps. | High-performance gaming rigs, digital audio workstations, CAD machines. |
| Custom PowerShell Automation | Direct file system sweeps utilizing Stop-Process and Remove-Item cmdlets. | Completely customizable; targets specific application caches (Teams, Slack, Chrome). | Higher risk of file lock collisions; potential script execution policy friction. | System administrators and developer workstations. |
| Third-Party Cleaners | Proprietary background daemon engines running ongoing file tracking. | Polished graphical dashboard; single-button operation. | Consumes continuous background memory; frequent upsell prompts; driver corruption risk. | Not recommended for clean production environments. |
Step-by-Step Native Storage Sense Configuration
Before implementing specialized scheduler hooks, you must align the native Storage Sense engine to recognize which temporary stores are marked for nightly termination. Windows 11 revamps the legacy Disk Cleanup paradigm into an automated service that respects individual user preferences and cloud sync settings.
1. Accessing Advanced Storage Parameters
Begin by launching the system settings interface via the keyboard shortcut Windows Key + I. Navigate directly to System on the left-hand rail, then select Storage from the primary panel. Here, Windows presents a real-time visualization of current partition utilization. Locate the toggle switch labeled Storage Sense and verify it is turned On. Once enabled, click on the right chevron of the Storage Sense row to access its operational parameters.
2. Establishing Daily Trigger Frequencies
Under the configuration header, locate the dropdown menu titled Run Storage Sense. The default setting is commonly “During low free disk space (default)”, which prevents automated execution until catastrophic storage saturation occurs. Modify this parameter to Every day. This is the cornerstone foundation for nightly automation.
3. Defining Automatic File Deletion Thresholds
Next, configure the disposal cadence for temporary application files and the Recycle Bin:
- Check the box marked Keep Windows running smoothly by automatically cleaning up temporary system and app files.
- Set Delete files in my recycle bin if they have been there for over to 1 day if you want true daily clearing, or 14 days if you require a buffer for safety.
- Set Delete files in my Downloads folder if they haven’t been opened for more than to Never to prevent the accidental loss of newly fetched archives, unless your workflow accommodates complete daily sanitization.
Setting the Downloads folder purge parameter to 1 day will permanently delete installation media, invoices, and working data that reside in your default user profile directory. If your daily productivity includes active local file management, retain this setting at Never and target only genuine temporary caches to preserve critical project files.

The Nightly Scheduler Implementation: Forcing 02:00 AM Execution
While the native setting is configured to “Every day”, the Windows internal scheduler triggers the job opportunistically during idle CPU cycles. This design means the cleanup could trigger while you are compiling software, rendering 4K video, or playing input-sensitive simulations. To force a predictable execution window at night, we must configure a specialized Task Scheduler entry that controls the native cleanup engine directly.
1. Initializing cleanmgr via Registry Flags
The native Storage Sense back-end works in tandem with the traditional Cleanmgr infrastructure. To ensure the scheduled task clears every category of hidden cache without requiring manual mouse clicks, generate an automated operational preset via the Registry Editor or Command Prompt. Open an elevated Command Prompt by pressing Windows Key + S, typing cmd, and selecting Run as administrator.
Execute the following command to define configuration group 100:
cleanmgr.exe /sageset:100
A legacy graphical dialog will open. Carefully check every box that represents transient cache: DirectX Shader Cache, Delivery Optimization Files, Temporary Files, Thumbnails, Recycle Bin, and Temporary Windows Installation Files. Uncheck Downloads to prevent accidental loss. Click OK. Windows stores these flags directly into the registry under the path HKLMSOFTWAREMicrosoftWindowsCurrentVersionExplorerVolumeCaches under index 100.
2. Constructing the Nightly Task in Windows Task Scheduler
Now, construct the automated execution trigger:
- Launch Task Scheduler via the Start Search menu.
- In the right-hand Actions panel, select Create Task (do not choose Create Basic Task, as it restricts privilege elevation).
- In the General tab, label the task
Windows11_Nightly_Storage_Purge. - Select the option Run whether user is logged on or not, and check the box marked Run with highest privileges. Ensure the Configure for dropdown is set to Windows 10 or Windows 11.
- Switch to the Triggers tab, select New, choose Daily, set the start time to 02:00:00 AM, and confirm the task recur every 1 days.
- Navigate to the Actions tab, click New, set the action to Start a program. In the Program/script input field, type
cleanmgr.exe. In the Add arguments box, type/sagerun:100. - Under the Conditions tab, check Start the task only if the computer is idle for and set it to 10 minutes, with a wait time of up to 1 hour. Additionally, check Wake the computer to run this task if you put your PC into sleep mode overnight.
- In the Settings tab, check Run task as soon as possible after a scheduled start is missed to guarantee execution if the system was powered down completely during the night.
Just as physical desk ergonomics keep you alert, digital routines keep your workstation performing at its best. If you have spent time implementing budget under-desk treadmill setup hacks for small home offices, you recognize that consistency is everything. Maintaining a clean machine via deterministic, nightly scheduling yields the same compound benefits over months of high-output productivity.
Registry-Level Hardening for Cloud and AppData Cache
Native configuration tools occasionally skip application-specific scratch disks located within local AppData paths. These directories often harbor hundreds of Megabytes of telemetry dumps, crash reports, and broken uninstaller fragments. To prevent these from expanding unnoticed, deploy an automated PowerShell maintenance sequence that runs alongside your nightly task.
Below is a clean, resilient PowerShell sequence tailored for nightly execution without disrupting running services:
# Nightly User Temp Sanitization Protocol
$TargetPaths = @(
“$env:TEMP*”,
“$env:LOCALAPPDATATemp*”,
“$env:WINDIRTemp*