

Compact remote workstations present a compounding set of biomechanical challenges that traditional office furniture design rarely addresses. When square footage is limited to a narrow alcove or a spare bedroom corner, users frequently compromise on posture, sacrificing spinal alignment for spatial economy. This misalignment triggers cumulative musculoskeletal strain, characterized by forward head posture, thoracic kyphosis, and chronic lumbar fatigue. Addressing these workstation deficits does not require a four-figure investment in motorized standing desks or luxury executive seating. By applying targeted engineering principles and low-cost modifications, you can transform a cramped workspace into an optimized biomechanical environment. Achieving proper alignment requires a methodical approach to height matching, visual plane adjustment, and tactile ergonomics, ensuring that every square inch of your physical footprint actively supports long-term health and daily output.
- Understanding Biomechanical Baseline Metrics in Small Footprints
- 1. The Ream-of-Paper Monitor and Laptop Riser
- 2. Rolled Hand-Towel Lumbar Support
- 3. Cardboard Shoe Box Footrest for Height Calibration
- 4. Binder Clip Cable Management and Peripheral Docking
- 5. Anti-Fatigue Kitchen Mat Floor Padding
- 6. Negative Tilt Keyboard Modification
- 7. Ambient Task Lighting and Blue Light Reduction
- 8. Partition Riser Shelves for Dual-Device Integration
- 9. DIY Document Holder from Wire Cookbook Stands
- 10. Acoustic Baffle Curtains for Spatial Focus
- 11. Systematic 4-Week Postural Adaptation Blueprint
- Frequently Asked Questions
- How high should my monitor be if I am using a paper stack riser?
- Can a rolled towel truly replace an expensive ergonomic office chair?
- What is the safest way to dispose of heat-generated equipment on paper risers?
- How do I prevent my DIY cardboard footrest from collapsing under my boots?
- Is a negative tilt keyboard dangerous for beginners?
Small work from home setups can achieve professional-grade ergonomics under a strict budget by prioritizing modular height adjustments, peripheral separation, and postural load distribution. By spending less than fifty dollars total on reams of paper, external keyboards, and lumbar cushions, remote workers can eliminate wrist extension strain and correct line-of-sight angles. Implement these eleven targeted modifications sequentially to reclaim both your physical comfort and your limited room layout.
- Primary Mechanism / Finding: Elevating laptop screens via reams of paper while utilizing an external wired keyboard reduces cervical flexion by up to 35 degrees.
- Optimal Protocol / Top Pick: Pair a rigid book stack display lift with a 5-degree angled negative tilt keyboard tray for wrist preservation.
- Practical Alternative: Use high-density foam yoga blocks beneath chair legs to achieve exact millimeter-level height calibration for shorter users.
- Critical Pitfall: Avoid resting wrists directly on hard desk edges during typing sessions, which compresses the carpal tunnel and restricts vascular flow.
Understanding Biomechanical Baseline Metrics in Small Footprints
Establishing an effective ergonomic configuration begins with establishing precise physical baselines that match your anthropometric measurements. When working in a restricted spatial footprint, standard furniture guidelines often fail because desks and chairs are manufactured for broad statistical averages rather than individual frames. Measuring your popliteal height, elbow angle, and visual focal length allows you to make informed adjustments using inexpensive household items. For example, ensuring a 90-degree angle at both the elbow and the knee joints prevents undue stress on tendon attachments and circulatory pathways throughout prolonged typing blocks.
Beyond basic angles, you must account for the physical constraints of tight spaces, such as restricted leg clearance and proximity to walls. When your desk faces a blank wall, visual fatigue accelerates because your eyes remain locked at a single focal distance for hours. Integrating periodic focal shifts and optimizing your seating depth prevents the common habit of slouching forward into the monitor. To maintain these standards alongside your daily output, consider how you structure your routine by learning how to set up a 15-minute daily energy audit in Notion for remote workers to track physical fatigue patterns.
Anthropometric Measurements and Target Angles
Every small desk modification should target specific joint angles defined by occupational health standards. Your feet must rest flat on the floor or on a stable footrest, creating a 90-to-100-degree angle at the knee. Meanwhile, your upper arms should hang vertically from the shoulders, with forearms parallel to the floor or angled slightly downward. Achieving this posture on a budget requires creative stacking and height manipulation rather than purchasing expensive ergonomic accessories.
The Cost-to-Benefit Ratio of DIY Modifications
Investing thousands of dollars in commercial ergonomic gear yields diminishing returns when compared to thoughtful, zero-cost and low-cost postural adjustments. Repurposing sturdy items already present in your living environment—such as textbooks, storage bins, and dense foam cushions—eliminates financial barriers while delivering identical biomechanical benefits. This frugal approach also preserves valuable square footage, ensuring your compact room remains uncluttered and conducive to focused remote work.
1. The Ream-of-Paper Monitor and Laptop Riser
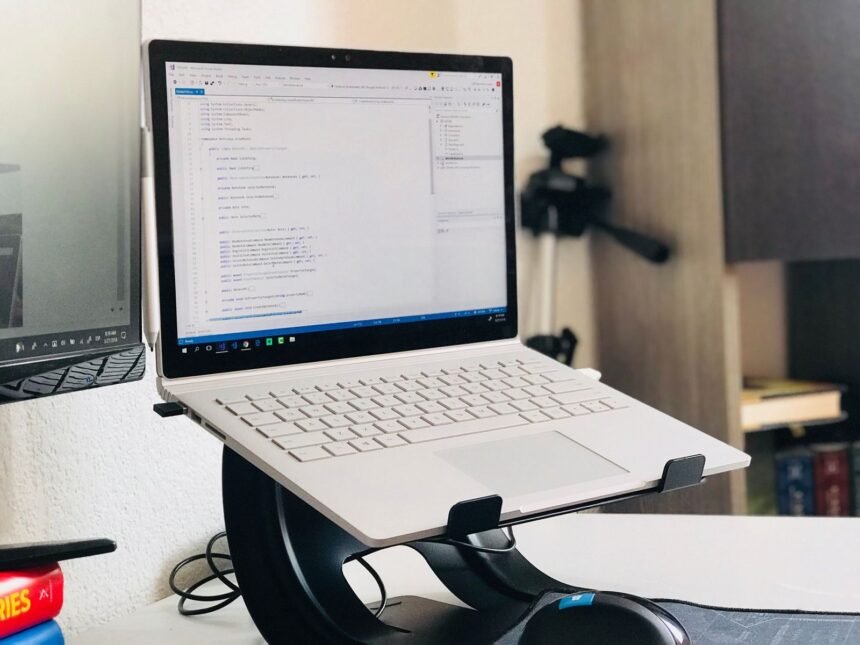
Laptops inherently force a compromising ergonomic paradox: positioning the keyboard at the correct typing height causes the screen to sit far too low, while raising the screen forces your hands into an elevated, tension-heavy typing posture. Resolving this conflict requires separating the input interface from the display output. By placing your laptop or external monitor atop a neatly aligned stack of printer paper or heavy hardcover textbooks, you instantly elevate the top third of the display to eye level.
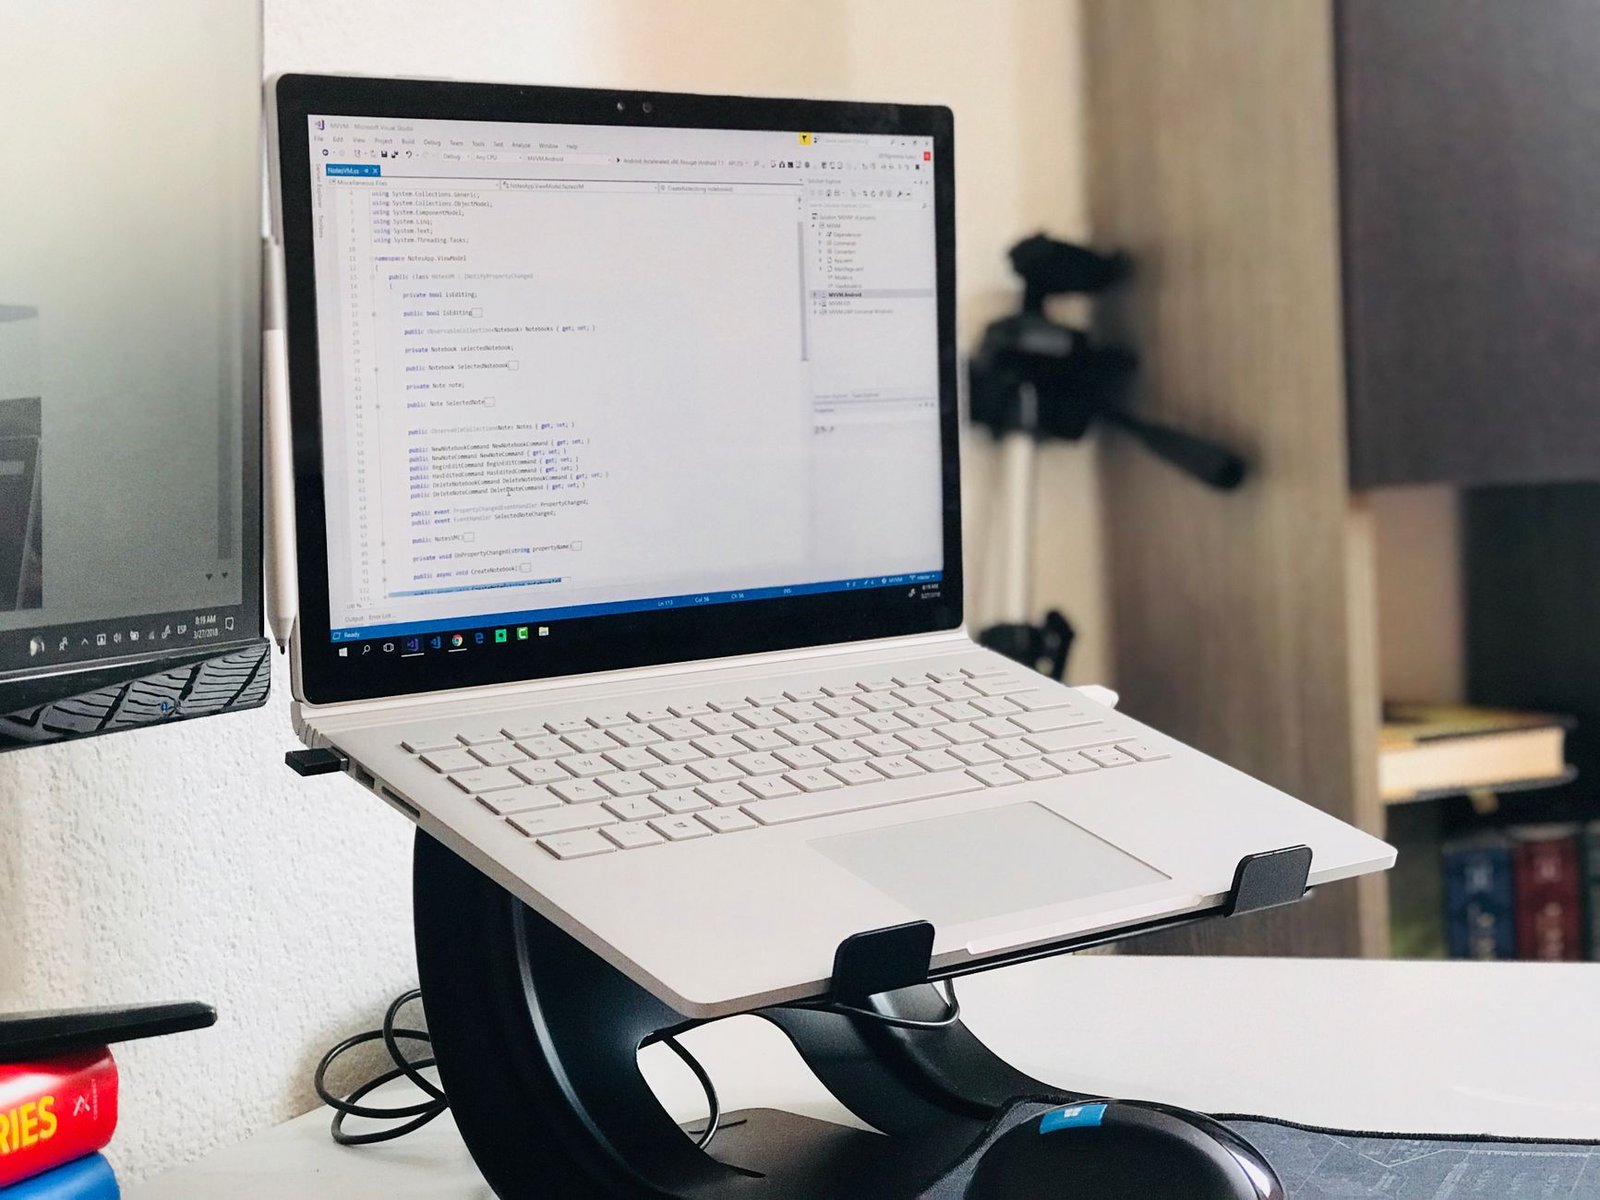
This simple modification eliminates the downward cervical flexion that strains the suboccipital muscles at the base of the skull. Furthermore, printer paper stacks offer infinite height customizability; you can add or remove individual sheets until your line of sight hits the upper third of the monitor bezel naturally. Pairing this riser with an external wired keyboard and mouse ensures your hands remain low and neutral on the desk surface.
Configuring Your Display Height
To calibrate your new paper riser, sit back in your chair with your shoulders relaxed and close your eyes. When you open them, your direct gaze should land approximately two to three inches below the top edge of the monitor screen. If your gaze falls near the center or bottom of the display, add another half-inch layer of paper until the optical target is met.
Managing Desk Footprint and Cable Routing
When stacking materials to elevate hardware in a compact workspace, verify that the base footprint remains stable and incapable of shifting under accidental impacts. Route any power and display cables behind the paper stack using binder clips attached to the rear desk edge. This keeps cords out of your workspace, preserving precious surface area for writing pads and reference materials.
2. Rolled Hand-Towel Lumbar Support
Commercial office chairs often feature rigid plastic lumbar supports that fail to match the unique curvature of an individual spine, leading to lower back pain. In compact setups where specialized ergonomic chairs are out of the financial and spatial picture, a standard cotton bath towel offers superior customizability. Rolling a dense hand towel to a diameter of two to four inches creates a malleable cylinder that conforms precisely to the lordotic curve of the lumbar region.
Securing this rolled towel to your chair back using rubber bands, a belt, or twine prevents it from slipping downward when you shift positions. Unlike mass-produced mesh cushions that push the pelvis too far forward, a towel roll allows you to adjust both firmness and vertical placement instantly. This targeted support prevents the posterior pelvic tilt that triggers slouching and spinal compression during long work sessions.
Determining Optimal Roll Diameter
The correct thickness of your towel roll depends on the depth of your spinal curve and the distance between your back and the chair rest. Start with a tightly wound cylinder roughly three inches in thick profile, and test it against your lower back for twenty minutes. If you experience pressure points or hyperextension, unroll the fabric slightly until the support feels supportive rather than intrusive.
Maintaining Pelvic Neutrality
Combine your towel roll with the habit of sitting all the way back in the seat pan so your ischial tuberosities bear your weight evenly. This alignment prevents forward pelvic translation, keeping your core engaged without requiring active muscular exertion. If your schedule demands rigorous time management, you can schedule posture checks alongside methods like learning how to setup the 3-3-3 time blocking method in Notion for daily productivity.
3. Cardboard Shoe Box Footrest for Height Calibration
Shorter remote workers frequently find that lowering their chair enough to support their wrists leaves their feet dangling unsupported above the floor. This lack of contact cuts off circulation in the thighs and forces the lower back to absorb compensatory tension. A sturdy cardboard shoe box, reinforced internally with folded cardboard baffles, serves as an ultra-low-cost, high-durability footrest for tight desk footprints.
To increase traction and prevent the shoe box from sliding across hard flooring, apply rubber bands or strips of hot glue along the bottom edges. You can also wrap the exterior in duct tape to reinforce the structural integrity against heavy footwear pressure. This elevation brings your hips back into a neutral 90-degree alignment, relieving pressure on the sciatic nerve and improving lower extremity blood flow.
Fill your DIY cardboard footrest with dense packing materials or heavy books before sealing the lid. This adds ballast, preventing the footrest from sliding away when you shift your leg position during intense typing sprints.
Calculating Elevation Requirements
Measure the vertical distance between the bottom of your feet and the floor while sitting comfortably in your adjusted chair. If that gap exceeds one inch, your shoe box or secondary platform must bridge the exact difference. For gaps greater than four inches, stack two shoe boxes together and secure them with industrial packing tape.
Active vs. Passive Footrest Configurations
While a static shoe box provides solid foundational elevation, you can introduce active micro-movements by placing a tennis ball or golf ball under your desk to roll your feet across periodically. This active movement stimulates blood return to the heart, mitigating the circulatory sluggishness associated with sedentary remote work environments.
4. Binder Clip Cable Management and Peripheral Docking
Desk clutter in a small workspace creates visual chaos that increases cognitive load and restricts physical movement. Loose cables hanging over the desk edge often snag on arms or knock over coffee mugs, disrupting your focus. Large metal binder clips attached to the rear or side lip of your desk provide an instant, zero-cost cable management matrix for charging cords and USB lines.
By removing the silver wire arms of the binder clips after clipping them to the desk edge, you create secure circular loops through which you can thread your charging cables. This keeps connector heads within arm reach on the desktop surface rather than letting them slip behind the desk leg. This level of organization is particularly valuable when running system diagnostics or troubleshooting Android connection errors, where quick access to USB ports is paramount.
Preventing Peripheral Drag
Wired mice and keyboards often pull against the desk surface when their cords lack slack management, creating micro-resistance that strains wrist tendons over time. Use a binder clip to anchor the mouse cable a few inches behind the mouse pad, creating a dedicated service loop that relieves tension during sweeping cursor movements.
Optimizing Small Surface Area
Every square centimeter counts in a compact workspace, meaning peripheral devices must be stowed vertically whenever possible. Attach extra-large binder clips to the underside of your desk to cradle portable hard drives, USB hubs, and spare dongles out of harm’s way, keeping your primary work surface entirely clear for active tasks.
5. Anti-Fatigue Kitchen Mat Floor Padding
When transitioning between sitting and standing in a micro-workstation, hard flooring transmits shock waves up through the ankles, knees, and lower back. Commercial standing desk mats can be surprisingly expensive, but standard kitchen anti-fatigue mats or thick yoga mats offer identical shock absorption at a fraction of the cost. Placing this padding beneath your feet during standing intervals encourages subtle, subconscious muscle adjustments that prevent joint locking and lower limb fatigue.
The closed-cell foam construction of a quality kitchen mat distributes body weight evenly across the soles of the feet, stimulating capillary blood flow. This physical stimulation keeps your legs energized throughout the morning, delaying the onset of postural fatigue. To maximize your stamina during these standing sessions, balance your physical cadence alongside strategies like learning how to hack your post-lunch glucose spike to eliminate the 2 PM productivity slump.
Selecting the Right Density
Avoid overly squishy foam mats that cause your feet to sink and destabilize your ankles. Look for high-density polyurethane foam mats that compress slightly under your weight but rebound instantly when you step off. This resilience provides the optimal balance between shock absorption and postural stability.
Storage in Restricted Rooms
When you transition back to a seated posture in a tight room, a standing mat can easily become a tripping hazard. Hang your kitchen mat on a wall hook behind your desk or slide it vertically between a bookshelf and the wall to keep your floor space completely clear.
6. Negative Tilt Keyboard Modification
Most computer keyboards feature fold-out feet at the top edge that tilt the keys upward toward the user, forcing the wrists into unnatural extension. This extension compresses the carpal tunnel and strains the forearm flexor tendons over time. Reversing this angle by creating a negative tilt—where the back of the keyboard sits lower than the front—places the wrists in a neutral, stress-free alignment.
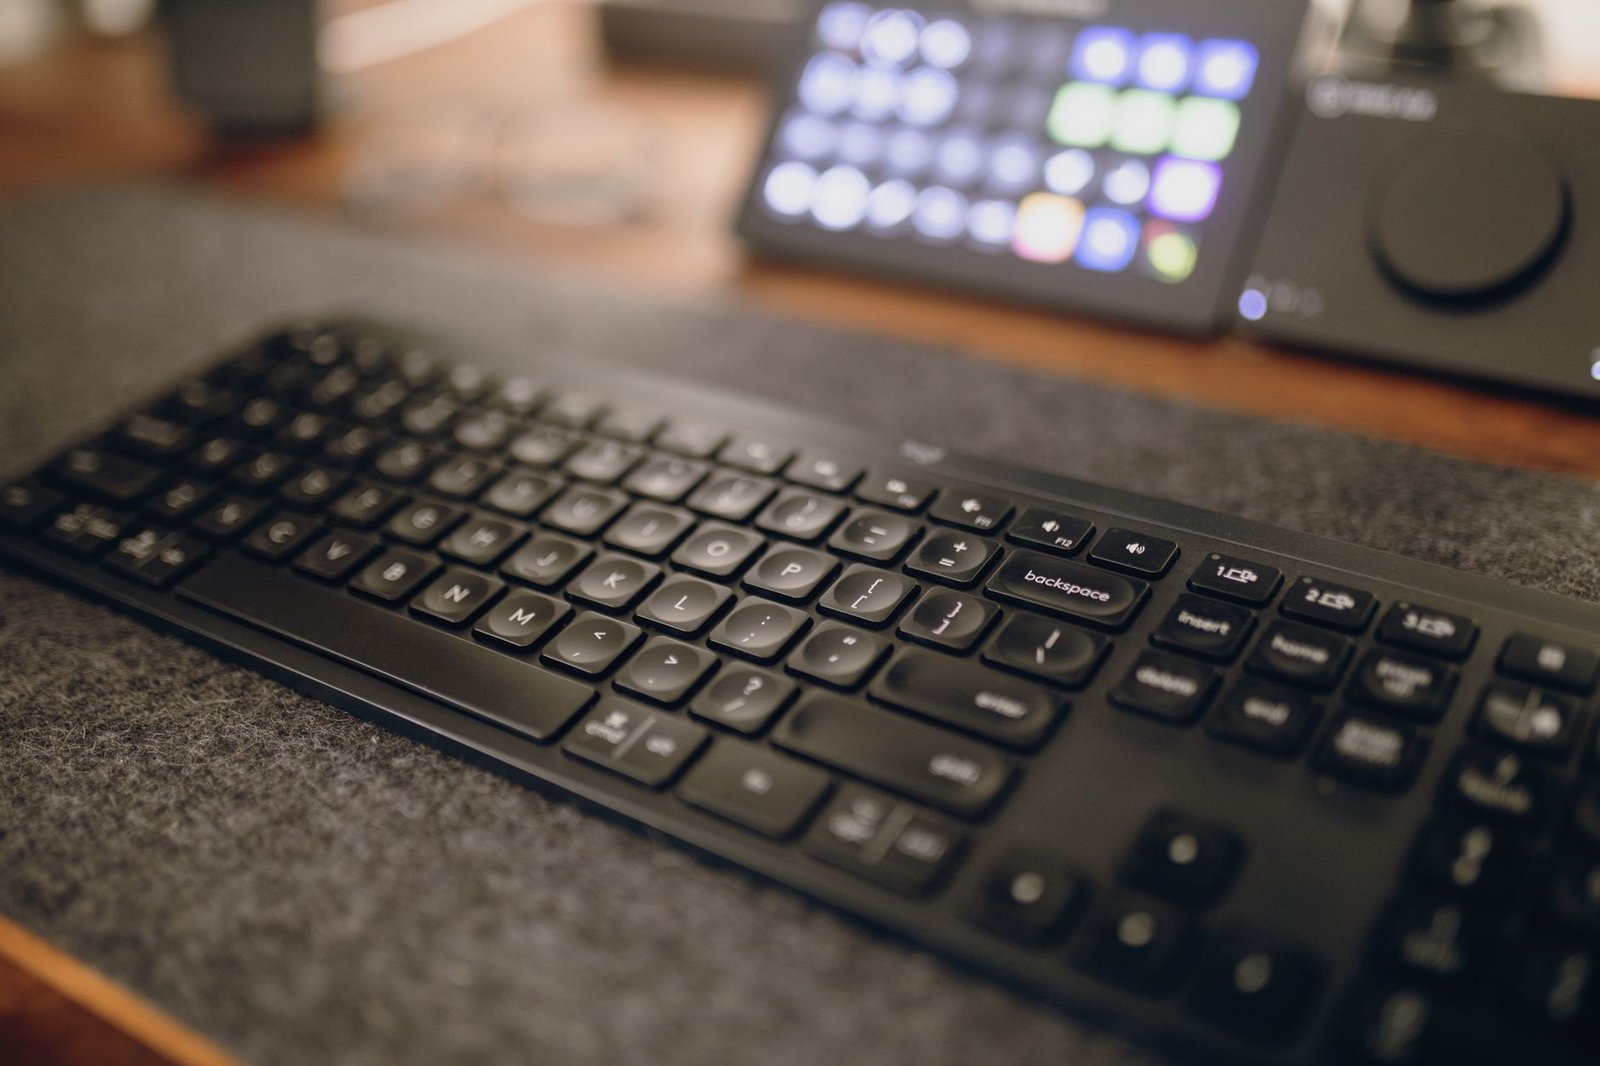
Achieving this negative tilt on a budget requires attaching small, thick rubber adhesive bumper feet to the front underside lip of your keyboard while removing or folding down any rear feet. This simple tilt eliminates the bending stress that contributes to repetitive strain injuries. When combined with proper seating height, your hands float effortlessly across the home row without resting weight on sharp desk edges.
Calibrating the Tilt Angle
The ideal negative tilt angle ranges between negative 5 and negative 12 degrees, depending on your desk height and chair arm placement. Use stackable rubber furniture bumpers to experiment with different heights until your wrists remain completely straight while typing. Test this setup by typing a long document; if you feel tension in the top of your wrists, reduce the front elevation.
Integrating Wrist Rests Properly
When using a negative tilt keyboard, avoid resting your palms on a traditional padded wrist rest while actively typing. Wrist rests are designed only for resting during pauses in typing; maintaining contact while typing restricts finger movement and increases pressure on the carpal tunnel.
7. Ambient Task Lighting and Blue Light Reduction
Visual ergonomics extends far beyond monitor height to encompass the lighting conditions of your surrounding room. Working in a dim room with a bright monitor causes excessive pupillary dilation and contraction, leading to digital eye strain, headaches, and mental fatigue. Installing an inexpensive LED bias lighting strip along the rear bezel of your monitor balances the luminance contrast between the screen and the dark wall behind it.
Additionally, configuring software color temperature settings to match natural daylight cycles reduces melatonin suppression during evening work hours. When managing complex digital workflows, such as reviewing scanned private documents or validating secure PDF files, clear vision without glare is essential for catching critical errors. Proper lighting prevents you from leaning forward into the screen, automatically preserving your upright posture.
Eliminating Screen Glare
Position your desk perpendicular to windows rather than facing them directly or having them directly behind you. This side-lighting arrangement prevents harsh window glare on your monitor surface and eliminates high-contrast backlighting silhouettes that cause squinting. Use inexpensive blackout window film if spatial limitations force a sub-optimal desk orientation relative to natural light sources.
Color Temperature Calibration
Set your display color temperature to 6500K during peak daylight hours to match ambient sunlight, and let it warm down to 3400K as evening approaches. This gradual shift reduces retinal stress and supports healthy circadian rhythms, ensuring better sleep quality after intensive remote work shifts.
8. Partition Riser Shelves for Dual-Device Integration
Small work from home desks often need to accommodate multiple devices, such as a primary laptop, a secondary tablet, and a smartphone. Stacking these items flat across a narrow desk surface destroys your ergonomic layout and forces awkward neck turns. Installing a small, inexpensive wooden shelf riser over your primary keyboard area creates a second tier of vertical storage.
This vertical tier allows you to slide your keyboard underneath the shelf when you need to switch to handwritten note-taking or paper document review. It also positions secondary reference screens at a readable height, reducing the need for constant head rotation. Keeping your tools organized within a compact footprint maintains a clean mental state and prevents workspace claustrophobia.
Material Selection for Stability
When building or buying a desktop riser shelf, ensure the material—such as solid pine or laminated MDF—can support the combined weight of your monitor or secondary devices without bowing. A sagging shelf introduces unstable vibrations that cause screen flicker and visual fatigue during long typing sessions.
Maximizing Vertical Clearance
Measure the height of your external keyboard including its negative tilt feet to ensure it slides freely beneath the riser shelf with at least one inch of overhead clearance. This prevents annoying scraping noises and protects your equipment from accidental scratches during daily storage.
9. DIY Document Holder from Wire Cookbook Stands
Reference materials placed flat on the desk surface force continuous vertical head nodding as your eyes travel between the horizontal paper and the vertical monitor screen. Over the course of an eight-hour workday, this repetitive motion strains the cervical spine and fatigues the neck extensor muscles. A simple wire cookbook stand or adjustable plate holder serves as an exceptional, low-cost vertical document holder.

Positioning your reference documents directly adjacent to your monitor screen at the same focal plane eliminates the need for constant head readjustment. This setup is particularly vital when verifying encrypted data, scanning private paperwork, or cross-referencing secure PDF forms against digital databases. Keeping your source material vertical preserves your posture and dramatically speeds up data entry tasks.
Aligning Focal Planes
Place your wire document holder on the dominant side of your monitor, resting against the display bezel to minimize the distance your eyes must travel. The distance between the paper text and your eyes should match the exact distance between your monitor screen and your eyes, eliminating optical refocusing fatigue.
Managing Multi-Page Documents
Use binder clips or small magnetic strips on the edges of your wire stand to hold open thick reports or reference manuals without requiring your hands. This frees your fingers to remain in contact with your keyboard and mouse, maintaining an uninterrupted workflow.
10. Acoustic Baffle Curtains for Spatial Focus
Ergonomics encompasses acoustic comfort as much as physical posture, especially in small home environments where background noise disrupts concentration and triggers stress responses. Acoustic dampening panels can be costly, but hanging heavy thermal curtains or sound-absorbing blankets over nearby bare walls or room dividers effectively captures ambient sound reflections.
Reducing reverberation in a small room lowers your subconscious auditory tension, allowing you to maintain relaxed shoulders and steady breathing patterns. This acoustic isolation prevents the tendency to hunch forward toward your screen in an effort to block out household distractions. A quiet workspace directly correlates with sustained physical relaxation and better daily productivity.
Calculating Sound Absorption Needs
Hard surfaces like bare drywall, glass windows, and uncarpeted floors reflect sound waves, creating an echo chamber effect that tires the auditory cortex. Hanging heavy fabrics over at least two adjacent walls in a small room absorbs high-frequency noise and creates an acoustically balanced environment suitable for deep focus.
Balancing Airflow and Insulation
Ensure that any acoustic curtains or partition barriers do not block natural ventilation paths or heating vents within your small workspace. Maintaining good indoor air quality is just as critical for cognitive performance as physical ergonomics.
11. Systematic 4-Week Postural Adaptation Blueprint
Implementing eleven ergonomic hacks all at once can overwhelm your neuromuscular system, as your body requires time to adjust to new postural loads and joint alignments. A structured four-week adaptation blueprint ensures sustainable habit formation without triggering muscle soreness or fatigue. This gradual rollout allows you to test each adjustment, fine-tune your measurements, and lock in long-term biomechanical health.
During Week 1, focus entirely on baseline height modifications, setting up your paper monitor riser and towel lumbar roll. In Week 2, introduce the cardboard footrest and negative tilt keyboard to calibrate your lower body and wrist alignment. Week 3 centers on peripheral organization, binder clip cable management, and wire document holders. Finally, Week 4 integrates lighting adjustments, anti-fatigue mats, and acoustic balancing to complete your optimized micro-workstation.
If you experience sharp nerve pain, numbness in your fingers, or chronic joint inflammation while implementing these ergonomic modifications, immediately consult a qualified physical therapist or occupational health specialist. DIY adjustments are designed to support healthy postures, not to treat pre-existing musculoskeletal injuries.
Monitoring Physical Feedback
Keep a daily journal during your four-week adaptation phase to record any muscle soreness, tension spots, or improvements in focus. Mild muscle fatigue is normal as unused postural muscles engage, but sharp joint pain indicates an incorrect setup angle that requires immediate recalibration.
Long-Term Maintenance Protocols
Re-evaluate your ergonomic setup every six months to account for changes in footwear, chair wear, or equipment upgrades. Consistent auditing ensures your budget-friendly workstation continues to protect your physical health and support your remote work career for years to come.
Frequently Asked Questions
How high should my monitor be if I am using a paper stack riser?
Your monitor should be positioned so that the top third of the display screen aligns with your natural eye level when you sit up straight with relaxed shoulders. If you wear bifocals or progressive lenses, lower the monitor slightly more—about one to two inches—to prevent the need for awkward neck tilting. The viewing distance from your eyes to the screen should measure approximately 20 to 28 inches, roughly equivalent to an arm length away. By using adjustable layers of printer paper, you can fine-tune this height in increments of millimeters until your cervical spine remains in a neutral, strain-free position.
Can a rolled towel truly replace an expensive ergonomic office chair?
A rolled cotton bath towel cannot replicate the complex mechanical adjustments of a luxury chair, but it offers superior lumbar customization compared to many mid-tier office chairs. Mass-produced chair mechanisms often feature fixed lumbar curves that fail to match your unique spinal lordosis. A hand towel roll allows you to adjust both the diameter and vertical placement to match your exact anatomical curve. When combined with proper seat pan depth and active sitting habits, a towel roll effectively eliminates lower back slouching and spinal compression without straining your budget.
What is the safest way to dispose of heat-generated equipment on paper risers?
When using reams of paper or heavy textbooks as a laptop riser, ensure that your laptop cooling vents remain unobstructed by paper wrappers or plastic film. Modern laptops dissipate heat through their chassis bases and rear hinge areas; blocking these thermal zones can cause internal components to overheat and trigger thermal throttling or system error codes. Always remove outer plastic packaging from paper reams and leave a half-inch clearance around ventilation ports. If your laptop runs hot during intensive data processing, consider adding small rubber bottle caps beneath the laptop corners to create an airflow channel above the paper stack.
How do I prevent my DIY cardboard footrest from collapsing under my boots?
Cardboard structural integrity depends heavily on internal load distribution and protection against moisture. To prevent your shoe box footrest from crushing under heavy footwear, pack the interior tightly with dense filler materials such as old magazines, folded cardboard cross-baffles, or dense packing foam. Seal all exterior edges with heavy-duty packing tape to reinforce the seams against lateral shear stress. Additionally, elevating the footrest off damp concrete flooring by placing a thin plastic tray underneath prevents moisture absorption that weakens cardboard fibers over time.
Is a negative tilt keyboard dangerous for beginners?
A negative tilt keyboard is not dangerous; in fact, it is widely recommended by physical therapists to correct the wrist extension caused by standard keyboard feet. However, if you are accustomed to typing with your wrists arched upward, transitioning to a flat or negative tilt requires a brief adaptation period of three to five days. During this transition, you may notice mild tension in your forearm extensors as your muscles adapt to a neutral carpal angle. Start by using a mild negative tilt angle and gradually increase it over your four-week adaptation blueprint to ensure comfortable, injury-free typing.