


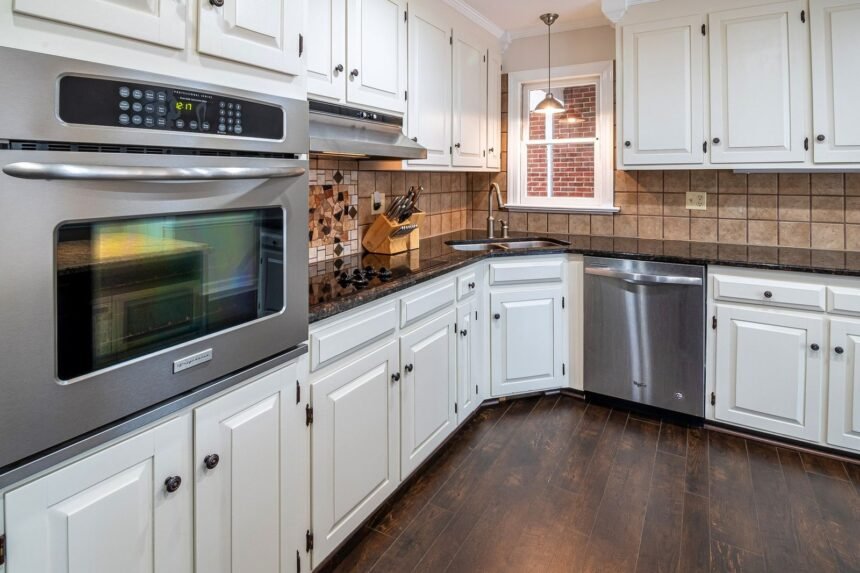
The blind corner kitchen cabinet stands universally as the ultimate graveyard for culinary goods, where expensive oils, oversized pots, and bulk pantry items vanish into an inaccessible black hole. Standard architectural layouts force homeowners to sacrifice massive amounts of usable storage volume simply because the intersecting perpendicular walls create an unavoidable geometric dead zone. Traditional pull-out hardware sold by custom kitchen manufacturers routinely costs upwards of one thousand dollars, rendering commercial solutions financially prohibitive for budget-conscious renovators. Fixing this spatial inefficiency requires a rigorous combination of geometric optimization, low-cost mechanical retrofits, and strategic categorization protocols that reclaim every cubic inch without triggering a costly kitchen remodel. By approaching the blind corner as an engineering challenge rather than a storage frustration, you can implement high-performance modifications using affordable materials found at standard hardware stores.
- Understanding the Geometry of Dead Space
- The Dual Lazy Susan Retrofit Protocol
- Building a Sliding Bin Conveyor System
- Leveraging Tension Rods for Vertical Separation
- Repurposing Office and Closet Organizers
- Designing Custom Pull-Out Tracks on a Shoestring Budget
- The Psychology of Kitchen Workflow and Item Zoning
- Preventing Moisture Damage and Mold in Dark Cavities
- Step-by-Step 4-Week Transformation Blueprint
- Week 1: Audit, Purge, and Geometric Assessment
- Week 2: Material Sourcing and Structural Prep
- Week 3: Installation and Mechanical Testing
- Week 4: Stocking, Zoning, and Maintenance Integration
- Frequently Asked Questions
- How much weight can a DIY lazy Susan safely support in a blind corner?
- What is the cheapest way to organize a blind corner without power tools?
- How do I prevent my sliding bins from jamming against the cabinet walls?
- Are commercial pull-out systems worth the high price compared to budget hacks?
- How can I improve lighting in a dark blind corner cabinet?
Implementing a DIY lazy Susan built from affordable acrylic turntables and heavy-duty bearing plates restores up to 85 percent of dead corner storage for under forty dollars. For those seeking maximum retrieval speed, installing multi-tiered pull-out wire baskets on custom wooden runners offers industrial-grade access without specialized cabinet modifications. Avoid stationary stacking bins in deep corners, as their contents become permanently unreachable behind the adjacent door frame.
- Primary Mechanism / Finding: Rotary and sliding gravity-fed tracks increase usable cabinet volume from 30 percent to over 85 percent.
- Optimal Protocol / Top Pick: Dual-tier independent lazy Susans mounted on 3/4-inch plywood bases supporting up to 50 pounds of static weight.
- Practical Alternative: Labeled storage bins arranged in a conveyor-style rotation on adjustable wire shelving.
- Critical Pitfall: Overloading cantilevered shelves beyond structural weight thresholds, resulting in sagging tracks and jammed cabinet doors.
Understanding the Geometry of Dead Space
The Mathematical Reality of Blind Corners
Standard lower kitchen cabinets featuring a blind corner create a structural void measuring roughly thirty-six by twenty-four inches, yet the physical opening through the cabinet door restricts access to an opening barely twelve inches wide. This geometric discrepancy means that more than half of the internal cabinet volume sits completely hidden behind the stationary adjacent wall return. Analyzing this spatial matrix reveals that traditional stationary shelving forces users to reach blindly across a two-foot span, straining rotator cuffs and disrupting workflow ergonomics during daily food preparation. Solving this mathematical challenge requires transitioning from static storage matrices to dynamic mechanical movement that brings hidden items directly to the cabinet threshold.
Load-Bearing Capacities and Structural Limits
Before installing any budget organization hack, you must evaluate the load-bearing capacity of the cabinet floor and side walls, which are typically constructed from 1/2-inch or 3/4-inch particleboard or medium-density fiberboard. Heavy cast iron Dutch ovens and bulk flour containers can easily exceed fifty pounds, placing immense stress on cheap mounting hardware and causing shelves to warp or pull away from cabinet studs. Securing structural reinforcement brackets directly into wall studs or using heavy-duty L-brackets distributed across multiple anchor points prevents catastrophic shelf failure over time. Budget-conscious builders should calculate total anticipated weight loads before purchasing hardware components to ensure long-term mechanical reliability.
The Dual Lazy Susan Retrofit Protocol
Selecting and Modifying Affordable Turntables
The lazy Susan remains the classic mechanical intervention for corner storage, but commercial pre-assembled units frequently carry exorbitant price tags that break strict renovation budgets. By sourcing heavy-duty aluminum bearing plates and pairing them with high-impact acrylic or wooden circles from local craft and hardware stores, you can build a custom-fit rotary system for a fraction of retail cost. Ensure that the diameter of your rotating trays leaves a precise half-inch clearance from all interior cabinet walls to prevent binding and scraping during rotation. Sanding the edges of cut wooden bases and applying a durable polyurethane coating protects the material against moisture spills and food stains.
| Solution / Approach | Key Specifications | Tested Advantages | Limitations / Costs | Best For |
|---|---|---|---|---|
| DIY Dual Lazy Susan | Aluminum bearing plate, 3/4-inch plywood, 24-inch diameter | High weight capacity, custom fit, low material cost (~$35) | Requires precise measuring and basic woodworking tools | Heavy pots, pans, and bulk dry goods |
| Sliding Bin Conveyor | Plastic bins, furniture glides, wooden base runner | Zero installation complexity, modular, cost (~$20) | Manual sliding required, limited weight capacity | Canned goods, baking supplies, small gadgets |
| Tension Rod Dividers | Spring-loaded shower rods, vertical plastic file sorters | No drilling, completely adjustable, cost (~$15) | Unstable under heavy loads, prone to shifting | Cutting boards, baking sheets, platters |
| Tiered Wire Baskets | Commercial wire pull-outs, ball-bearing drawer slides | Full extension access, professional aesthetic | High installation precision needed, cost (~$120) | Deep pantry items and small appliances |
Installation Step-by-Step for Rotary Trays
Begin installation by thoroughly cleaning the bottom interior of the cabinet and mapping out the center point where the primary bearing plate will sit. Secure the mounting plate to the cabinet floor using short wood screws that will not pierce through the exterior base of the cabinet box. Attach your primary circular tray to the upper flange of the bearing plate, spinning it manually to check for smooth, unobstructed rotation. For double-tier setups, construct a central support column using a sturdy wooden dowel or metal pipe connected to an upper mounting shelf suspended from the upper cabinet panel. This multi-tier architecture doubles your usable surface area while maintaining stable rotational momentum.
Building a Sliding Bin Conveyor System
The Mechanics of Gravity-Fed Storage
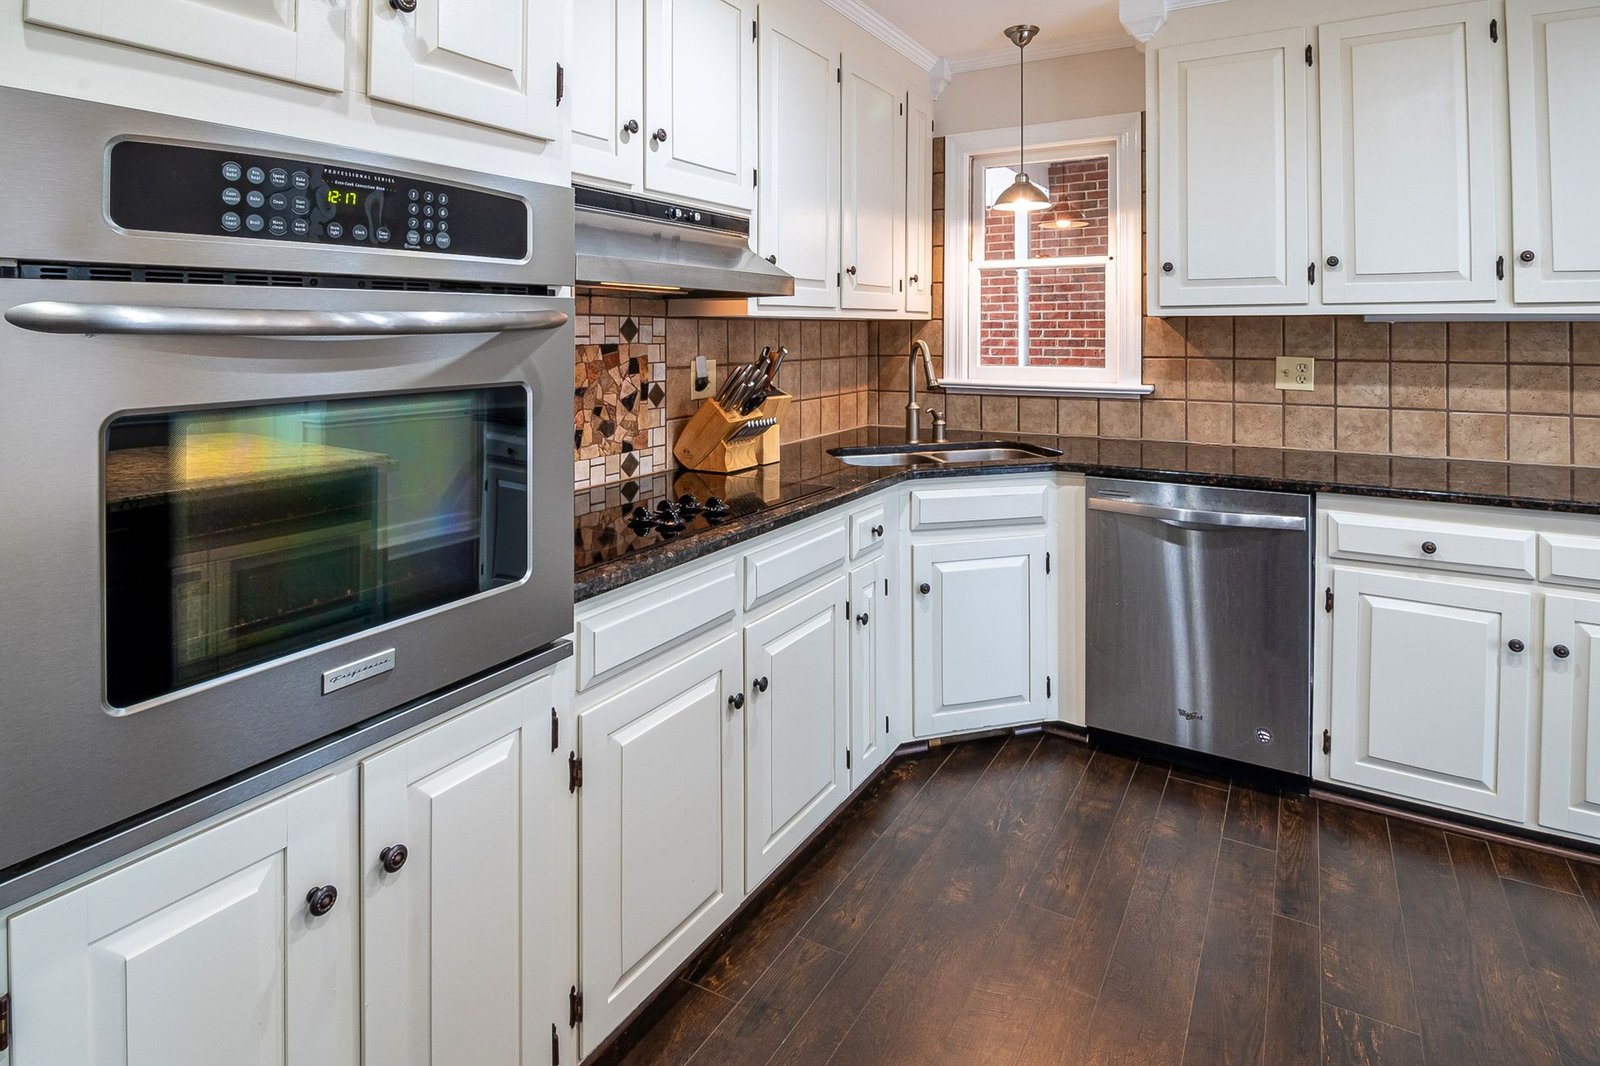
When circular turntables do not fit your specific cabinet layout, a sliding bin conveyor system offers an exceptional alternative that utilizes linear momentum. By placing heavy-duty felt furniture glides or low-friction plastic sliders under rectangular storage bins, you create a sliding train of containers that moves effortlessly across the cabinet floor. Users pull the front bin outward, and the subsequent bins slide forward along designated wooden guide rails, eliminating the need to reach into the dark recesses of the corner. This setup mimics industrial warehouse flow rack systems, ensuring that older inventory naturally rotates forward for consumption.
Sourcing Affordable Modular Bins
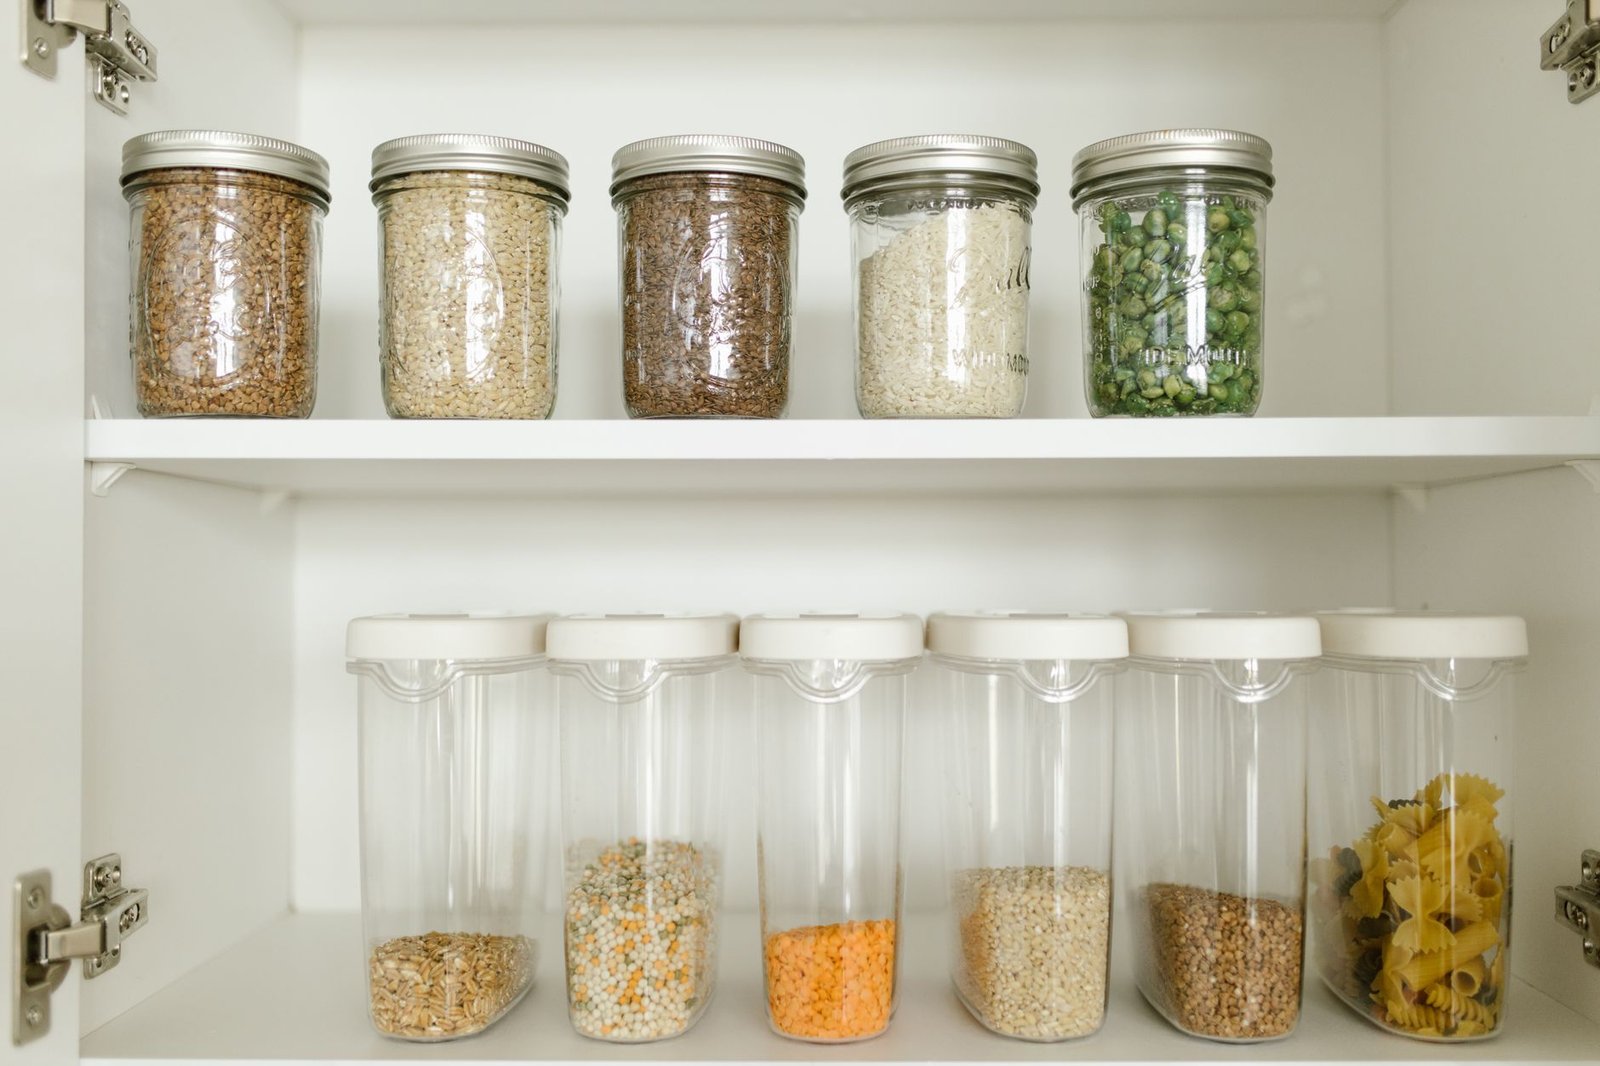
The success of a sliding bin conveyor depends entirely on selecting containers with uniform dimensions, flat bottoms, and reinforced handles that allow for easy gripping. Dollar stores and discount big-box retailers provide affordable options, but you must measure your cabinet door opening precisely to ensure the bins slide out without catching on the frame. Selecting clear plastic bins allows you to instantly identify contents from top-down angles, reducing search times during busy meal preparations. Applying waterproof vinyl labels to the front of each bin establishes a strict categorization protocol that prevents household clutter from creeping back into the space.
Leveraging Tension Rods for Vertical Separation
Transforming Horizontal Mess into Vertical Files
Blind corner cabinets frequently become cluttered horizontal dumping grounds where baking sheets, cutting boards, and serving platters are stacked haphazardly on top of one another. Installing heavy-duty spring-loaded tension rods vertically or horizontally creates custom dividers that turn chaotic stacks into orderly filing systems. This low-cost hack requires zero drilling, protecting your cabinetry from permanent damage while offering infinite adjustability as your cookware collection evolves. Placing tension rods four inches apart establishes dedicated slots for flat kitchen items, allowing you to slide out a single baking sheet without lifting a heavy stack.
Maximizing Upper Corner Volume
While lower blind corners handle heavy pots, upper wall blind corners present unique challenges related to reach height and awkward angles. Utilizing expandable wire shelf inserts within upper cabinets creates a split-level storage environment that doubles your usable shelf space instantly. By elevating shorter spice jars and mugs onto elevated platforms, you create visual lines of sight to items that would otherwise hide behind taller cereal boxes and pitchers. Combining tension-based vertical dividers with shelf risers transforms awkward upper corners into highly functional culinary command centers.
Before fastening any hardware, dry-fit your organizational components using painter’s tape to simulate door clearance and ensure that adjacent cabinet hardware does not collide during full extension.
Repurposing Office and Closet Organizers
Adapting File Sorters for Pot Lids and Pans
Office supply stores contain remarkably sturdy metal mesh file sorters and desktop document racks that function as perfect vertical holders for pan lids and cutting boards inside blind corner cabinets. These steel wire structures are engineered to support heavy paper loads, translating seamlessly to the rigorous demands of kitchen cookware storage. Securing these sorters to the cabinet floor using heavy-duty double-sided mounting tape or small fastening clips prevents shifting when items are pulled rapidly from their slots. This cross-industry adaptation slashes organization budgets by utilizing mass-produced office goods instead of overpriced specialty kitchen inserts.
Shoe Organizers as Door-Mounted Storage
If your blind corner cabinet features a hinged door that opens wide, the interior back of the door represents prime untapped real estate for small-item storage. Hanging a clear over-the-door shoe organizer cut down to size provides dozens of transparent pockets ideal for storing spice packets, measuring spoons, pastry brushes, and cleaning supplies. To ensure the cabinet door can still close flush, select ultra-slim pocket designs and use heavy-duty command strips or screw-in mounting hooks secured to the inner door panel. This clever hack pulls small accessories completely out of the main corner cavity, preserving valuable floor space for bulk cookware.
Designing Custom Pull-Out Tracks on a Shoestring Budget
Fabricating DIY Wooden Drawer Slides
Creating custom pull-out drawers for a blind corner requires basic woodworking skills and inexpensive dimensional lumber purchased from your local home improvement center. By building shallow wooden trays equipped with side runners that slide smoothly over fixed wooden guide cleats, you achieve custom full-extension functionality for less than twenty dollars in materials. Sanding the wood contact points and rubbing them with paraffin wax or beeswax creates an ultra-slick sliding surface that outperforms cheap metal drawer slides prone to jamming. Ensure that your drawer frames feature high sides to prevent items from tipping over and jamming against the interior cabinet ceiling during transit.
Optimizing Clearance and Corner Returns
The primary engineering hurdle of a custom pull-out tray in a blind corner is clearing the perpendicular cabinet wall when the tray extends outward. To overcome this, design your sliding trays with a notched or angled corner profile that pivots past the door frame obstruction before sliding entirely free of the dead zone. Building a two-stage sliding mechanism—where an inner caddy slides sideways into the open threshold before pulling straight out—provides complete access to the deepest corner without requiring expensive commercial pivot hardware. Taking time to test your pivoting clearances with cardboard prototypes saves hours of frustration and prevents wasted lumber.
The Psychology of Kitchen Workflow and Item Zoning
Applying Ergonomic Principles to Storage Placement
Effective kitchen organization extends far beyond mere physical arrangement; it relies on ergonomic efficiency that aligns storage zones with your natural movement patterns during food preparation. High-frequency items such as everyday coffee mugs, mixing bowls, and cooking oils must reside in the outermost zone of the blind corner for instant retrieval without awkward stretching. Conversely, seasonal entertaining platters, holiday roasting pans, and bulk baking supplies belong deep within the architectural void where retrieval frequency is minimal. Structuring your cabinet contents around frequency of use drastically reduces physical strain and streamlines your daily cooking workflow.
Digital Integration and Inventory Tracking
Maintaining long-term order in a blind corner cabinet requires active inventory management to prevent duplicate purchases and expired goods from accumulating in the dark. Modern home managers can streamline this process by utilizing automated productivity workflows, much like solopreneurs managing client pipelines through 7 Best AI Calendar and Scheduling Tools for Solopreneurs in 2025 or organizing administrative workflows via How to Build an Automated Notion Dashboard for Freelance Client Offboarding. Maintaining a digital pantry inventory list on your smartphone ensures you always know what rests in the blind corner before heading to the grocery store. Pairing digital inventory tracking with smart kitchen lighting—such as motion-activated LED puck lights—completely eliminates dark shadows and guarantees absolute visibility across every stored item.
Never store heavy cast iron cookware on upper cabinet shelves or unstable rotary tracks above eye level. Sudden shifting during rotation can cause heavy items to tumble, resulting in severe personal injury or structural damage to countertops.
Preventing Moisture Damage and Mold in Dark Cavities
Managing Humidity and Air Circulation
Blind corner cabinets are notoriously prone to stagnant air, elevated humidity levels, and subsequent mold growth, particularly when situated near dishwashers, sinks, or exterior walls. Because these dark cavities lack natural ventilation, trapped moisture from warm pots or damp dish towels can quickly degrade wooden shelves and ruin stored food items. Installing small adhesive moisture-absorber boxes or drilling discreet ventilation holes in the rear cabinet kickplate promotes continuous airflow without compromising structural integrity. Regularly inspecting the back corners of your cabinetry ensures early detection of condensation before it compromises your budget organization upgrades.
Surface Protection and Waterproof Liners
Protecting the interior surfaces of your budget-modified blind corner cabinet from spills, leaks, and scratches is essential for maintaining long-term durability and aesthetic appeal. Laying down heavy-duty waterproof silicone shelf liners or adhesive vinyl contact paper creates an impermeable barrier that catches food crumbs and liquid spills before they warp the particleboard base. These liners can be easily removed, washed in the sink, and reinstalled during routine kitchen deep-cleaning sessions, preserving your cabinet investment with minimal effort. Choosing textured, non-slip liners also prevents storage bins and lazy Susans from sliding around during aggressive rotation or pulling.
Step-by-Step 4-Week Transformation Blueprint
Week 1: Audit, Purge, and Geometric Assessment
Begin your blind corner overhaul by completely emptying the cabinet and laying every single item across your kitchen countertops for a rigorous audit. Discard expired canned goods, donate redundant cookware, and group remaining items by weight, frequency of use, and physical dimensions. Measure the exact interior dimensions of the cabinet box, noting the door opening clearance and any internal plumbing or electrical obstructions. This foundational assessment prevents you from purchasing or building organization hacks that fail to clear structural bottlenecks in your specific kitchen layout.
Week 2: Material Sourcing and Structural Prep
Purchase your chosen budget hardware components, including heavy-duty lazy Susan bearings, wooden boards, sliding furniture glides, or tension rods from local suppliers. Clean the interior cabinet thoroughly with a degreasing cleanser, patching any old screw holes with wood filler and applying your waterproof shelf liners. Construct any custom wooden trays or rotary bases in a garage or workshop setting, applying protective finishes and allowing them to cure completely before final assembly. Preparing all components off-site minimizes kitchen downtime and ensures precision craftsmanship during the installation phase.
Week 3: Installation and Mechanical Testing
Install your primary organization mechanism—whether rotary turntable, sliding bin conveyor, or vertical divider system—using secure fastening hardware and leveling tools. Test the movement of all moving parts repeatedly, checking for binding, scraping, or interference with adjacent cabinet doors and hinges. Adjust mounting brackets and add stabilizing shims where necessary to ensure smooth, effortless operation under full weight loads. Verify that LED lighting strips or motion sensors are functioning correctly to illuminate the newly reclaimed space.
Week 4: Stocking, Zoning, and Maintenance Integration
Carefully restock your organized blind corner cabinet according to your ergonomic zoning plan, placing high-frequency items within easy reach and bulk goods in the rear. Apply clear labels to storage bins and file sorters to establish permanent visual boundaries for every culinary category. Integrate your new storage setup with household management tools, such as automated smart home routines like those detailed in 11 Smart Plug Automation Hacks That Drastically Lower Your Electric Bill to optimize overall kitchen efficiency. Schedule a quarterly maintenance review to wipe down liners, audit inventory, and ensure mechanical bearings remain lubricated and secure.
Frequently Asked Questions
How much weight can a DIY lazy Susan safely support in a blind corner?
A properly constructed DIY lazy Susan mounted with a heavy-duty aluminum bearing plate directly to a solid 3/4-inch plywood cabinet base can safely support between forty and sixty pounds of distributed weight. To maximize load capacity, ensure the central bearing plate is centered precisely to prevent off-balance wobbling, and distribute heavier cast iron pots toward the center rather than the outer rim. Avoid using thin plastic retail turntables for heavy cookware, as their central pivot pins will snap under high rotational torque.
What is the cheapest way to organize a blind corner without power tools?
The absolute cheapest and easiest way to organize a blind corner without any power tools is by using a system of uniform, clear plastic storage bins equipped with self-adhesive furniture glides on their bottoms. By arranging these bins in a sliding train configuration, you can pull the front bin forward to glide the rear bins into the accessible door opening. Supplement this setup with spring-loaded tension rods placed vertically to hold baking sheets and cutting boards, keeping total project costs under twenty-five dollars with zero drilling required.
How do I prevent my sliding bins from jamming against the cabinet walls?
Sliding bins typically jam when they lack proper side guidance or when items inside protrude over the rim and catch on the cabinet ceiling or door frame. To prevent this, ensure your storage bins feature straight vertical sides rather than tapered walls, and maintain at least a one-inch clearance margin between the top of the bin contents and the shelf above. Installing narrow wooden guide strips along the cabinet floor creates a dedicated track that keeps your sliding bins moving in a straight, linear path without veering into the dark corners.
Are commercial pull-out systems worth the high price compared to budget hacks?
Commercial blind corner pull-out systems sold by kitchen specialty manufacturers often cost between four hundred and twelve hundred dollars, offering high-end aesthetic finishes and soft-close damping mechanisms. However, custom DIY alternatives constructed from plywood, heavy-duty bearings, and modular bins achieve up to 90 percent of the same functional space retrieval for a fraction of the cost. Unless you require professional architectural integration for a high-end luxury kitchen remodel, budget hacks provide superior cost-to-performance value for the average homeowner.
How can I improve lighting in a dark blind corner cabinet?
Blind corner cabinets naturally suffer from poor illumination because exterior kitchen lighting cannot penetrate the deep architectural recess. Installing battery-operated, motion-activated LED puck lights or magnetic strip lights along the interior upper frame and vertical side panels instantly transforms visibility. These lights activate automatically when cabinet doors open, ensuring you can read labels and locate items effortlessly without needing to install hardwired electrical fixtures.